Top 6 AI Video Creation Tools for Effortless Captivating Videos in 2026

Creating videos with artificial intelligence (AI) has become increasingly popular on social media, thanks to its ease, creativity, and often free accessibility. AI-powered video editing tools, once perceived as complex, are now user-friendly and indispensable for many content creators. If you follow the steps provided by these tools, creating engaging and professional-looking videos becomes straightforward. So, which AI video creation sites are worth exploring?
AI video creation involves generating a video based on various inputs like text, audio, music, emojis, or even other videos. This process is powered by AI algorithms that analyze the input, understand its meaning, and generate a relevant output. The output can range from fun and entertaining to emotional, educational, or artistic, depending on the context and purpose.
While many AI video creation platforms operate on a paid subscription basis, there are also free options with limited usage. These free tools are perfect for one-time projects or for those who want to explore the capabilities of AI video creation before committing to a premium service.
Did you know that there are 1000s of AI tools across more than 50 categories on Metaverseplanet? You can explore our Artificial Intelligence Tools category to discover the latest and most innovative AI solutions tailored for your needs.
AI video creation and editing sites:
- Descript
- Wondershare Filmora
- Runway ML
- Peech
- Synthesia
- Fliki
1.Descript
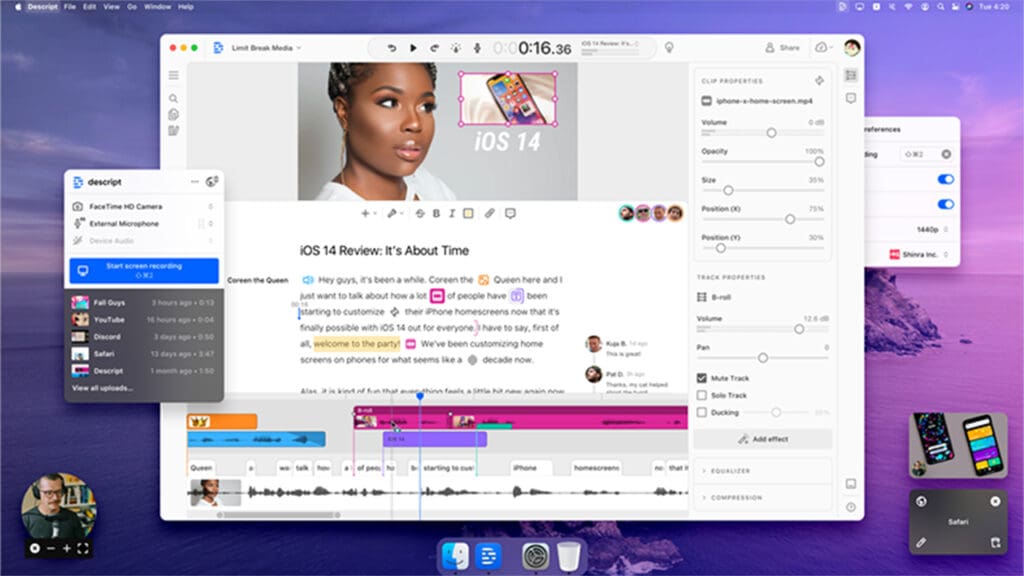
Descript is an outstanding AI video creation tool that revolutionizes the way videos are edited, allowing you to manipulate your videos as if you were editing a text document. In an era where the intricacies of using AI video creation tools might not be widely understood, Descript simplifies the process of editing AI-generated videos with its intuitive commands.
This platform bridges the gap between traditional video editing complexities and the user-friendly interface of text editing, making it an invaluable asset for creators seeking to streamline their workflow and enhance their content with the power of artificial intelligence.
How to Use Descript?
Descript transforms your video into a transcript and divides it into scenes automatically, eliminating the need to navigate through the timeline for cutting or trimming your video. Simply select the segments of the transcript you wish to remove, and Descript will handle the rest for you. This innovative approach allows you to edit your video as if it were a text document, streamlining the editing process and making it more efficient and user-friendly.
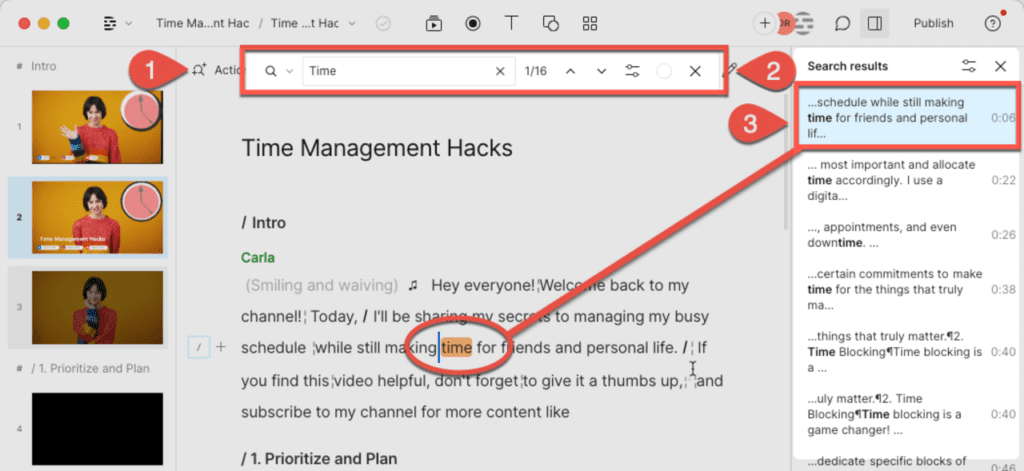
You can further refine your video by organizing it into scenes. To achieve this, simply insert a slash (/) at each transition point in the transcript. Descript will then segment the video into distinct sections within the timeline on the left. This method allows you to enrich your video with B-roll or background footage.
To add B-roll, click on the scene you wish to enhance and navigate to the “media library.” There, you’ll find a selection of high-quality stock videos that you can easily drag and drop into your project.
When you hit play, you’ll notice that Descript seamlessly integrates the B-roll at the exact points you specified. Similarly, you can embellish your video with visual elements and sound effects by marking their intended placement within the transcript.
Descript Pricing
Descript offers a free plan that allows the creation of 1 video with 720 hours of transcription and 1 watermark-free output at 720p resolution. The Creator plan, on the other hand, provides 10 hours of transcription and unlimited watermark-free AI video creations up to 4k resolution for a monthly fee.

Wondershare Filmora effortlessly segments your video into scenes and transcribes it, eliminating the hassle of navigating the timeline for cutting or trimming. Simply select the transcript sections you wish to modify, and upon playback, you’ll observe how Filmora elevates your video. Additionally, Filmora enriches your project with creativity and productivity enhancements.
These enhancements include a library of templates for rapid video creation and an automatic rhythm syncing feature that aligns your edits with the music, undoubtedly saving you time. Filmora also offers extensive export and publishing options, allowing you to save your video in your desired format, resolution, quality, and frame rate. For those looking to share their creations swiftly on platforms like YouTube, TikTok, or Vimeo, Filmora enables direct account linkage for convenient uploads.
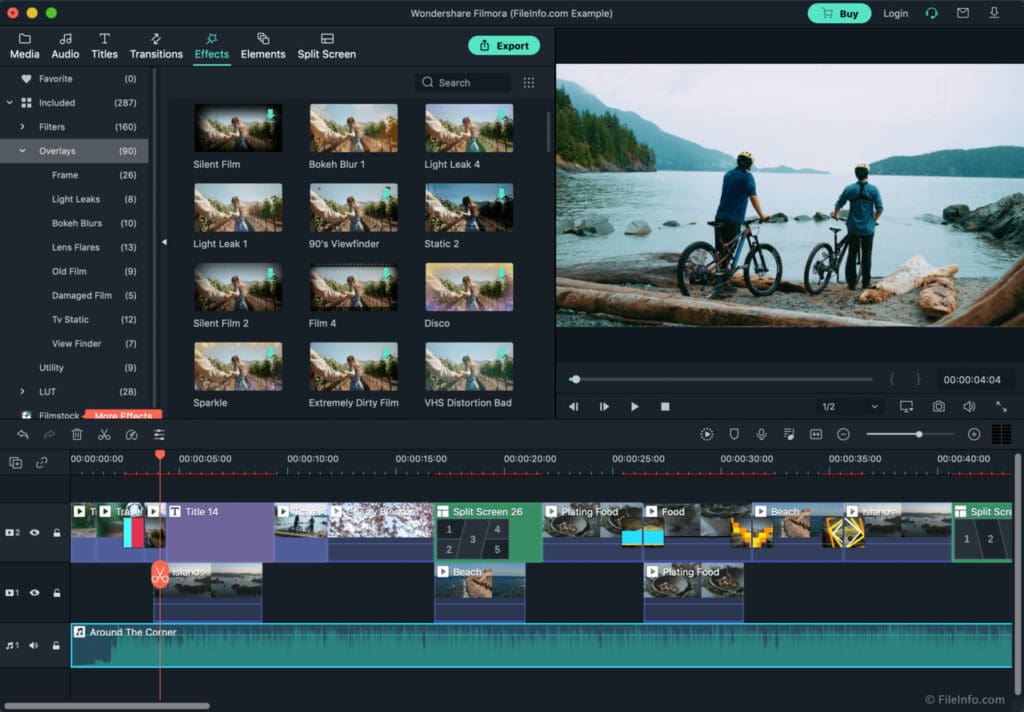
Moreover, activating the auto-highlighting feature during export prompts Filmora to generate a 15-second video highlight suitable for TikTok or a 60-second highlight for YouTube Reels/Shorts, adding an extra layer of engagement to your main file. Let’s delve into how you can utilize these features.
How to Use Wondershare Filmora?
To navigate through your file directory, select the “import” option, which we’ve highlighted with a yellow rectangle in the screenshot, and then choose the videos you require. This feature in the video editing software offers a “user album” to assist you in organizing all the videos you’ve added.

To overlay a video onto another video, begin by dragging and dropping a source or background video onto the first video track. Next, drag another video that you wish to overlay onto the background video track. You can adjust the duration of the overlay video using the speed and duration settings.
You can change the position of the Picture-in-Picture (PIP) video by dragging the handle in the preview window, or double-click to access the editing interface. Within this interface, drag the sliders to modify its size, position, or orientation as needed.
Note: To alter its brightness, video speed, pitch, volume, etc., double-click the clip on the timeline, then switch to the sound or color tab. This allows you to enhance both video and audio using the convenient tools within the editing panel.
For Combining Several Videos
Drag your videos from the media library to separate video tracks, supporting up to 100 video tracks. Then, adjust their placement and size as displayed in the frame. To preview your edits, click the “play” button.
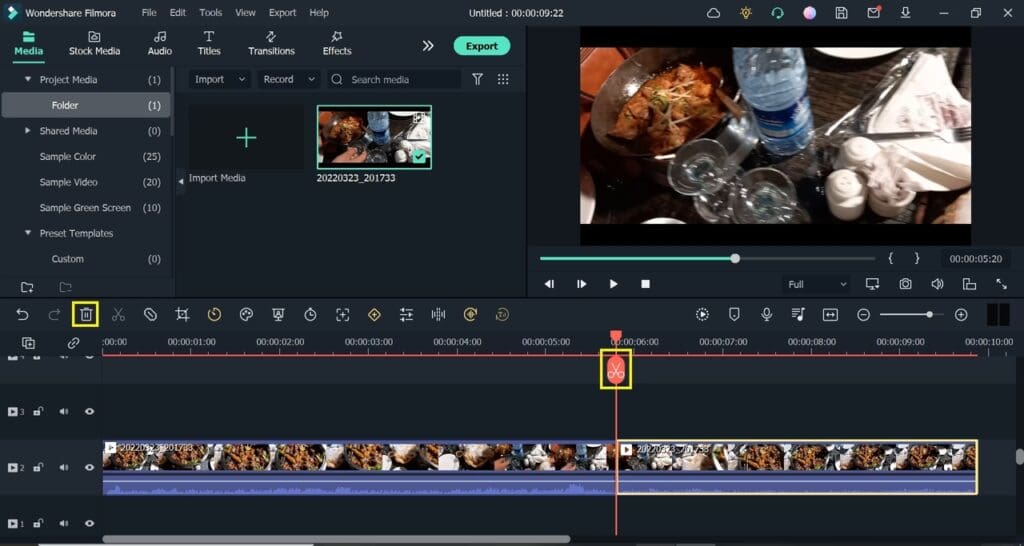
To add a video to another video, drag and drop a source or background video onto the first video track. Then, drag another video you wish to include on top of the background video track. You can adjust the duration of the overlaid video using the speed and duration settings.
You can also reposition the Picture-In-Picture (PIP) video by dragging the handle in the preview window, or double-click to access the editing interface. There, drag the sliders to modify its size, position, or orientation.
If you’re looking to adjust its brightness, video speed, pitch, volume, etc., double-click the clip on the timeline, then switch to the sound or color tab to enhance the video and audio with the editing panel’s tools.
Combining Multiple Videos
To combine multiple videos, drag your videos from the media library to different video tracks (supporting up to 100 video tracks), then adjust their placement and size within the frame. Press the “play” button to preview your edits.
By default, all audio tracks will be included in your video. However, you can mute or remove them (as indicated by the yellow square in the image) before adding background music.
Advanced Editing
For advanced editing, enhance your video by applying effects. Double-click the video on the timeline and select an effect from the editing panel. In the effects window, you can apply gestures, adjust color and volume, and customize the mask’s shape, position, and the display effect for optimal results.
Saving Your Video
To save your video, simply click on the “export” option. If you intend to upload your video online, select the “YouTube” tab for easy posting.
3.Runway ML
First and foremost, it’s important to note that this artificial intelligence tool extends far beyond mere video creation, offering a vast array of capabilities. For instance, it enables functionalities such as converting images to text, generating images from text, creating videos through AI, and transforming video clips into cinematic scenes. This diversity in features underscores the tool’s versatility and the extensive possibilities it presents for creative and practical applications.
How to Use Runway ML?
To access features such as AI video creation and AI video editing, simply click on the “videos” option located on the left side of the panel. The subsequent steps are akin to those of the previously described tools.
For instance, to generate a video from a text command, simply input your desired instruction into the command bar. It’s worth noting that the clearer and more detailed your instructions, the better the outcome. For optimal results, it’s advisable to avoid complex sentences.
Utilizing second-generation technology for AI videos, Runway ML also offers the capability for precise adjustments to your videos. This platform stands out for its user-friendly interface and cost-effectiveness compared to other AI video creation sites.
Pricing
The platform grants you three free videos with the option to export at 720p resolution. This AI tool is priced at $12 for the monthly plan and $24 for the annual plan, ensuring it meets your needs efficiently.
4.Peech
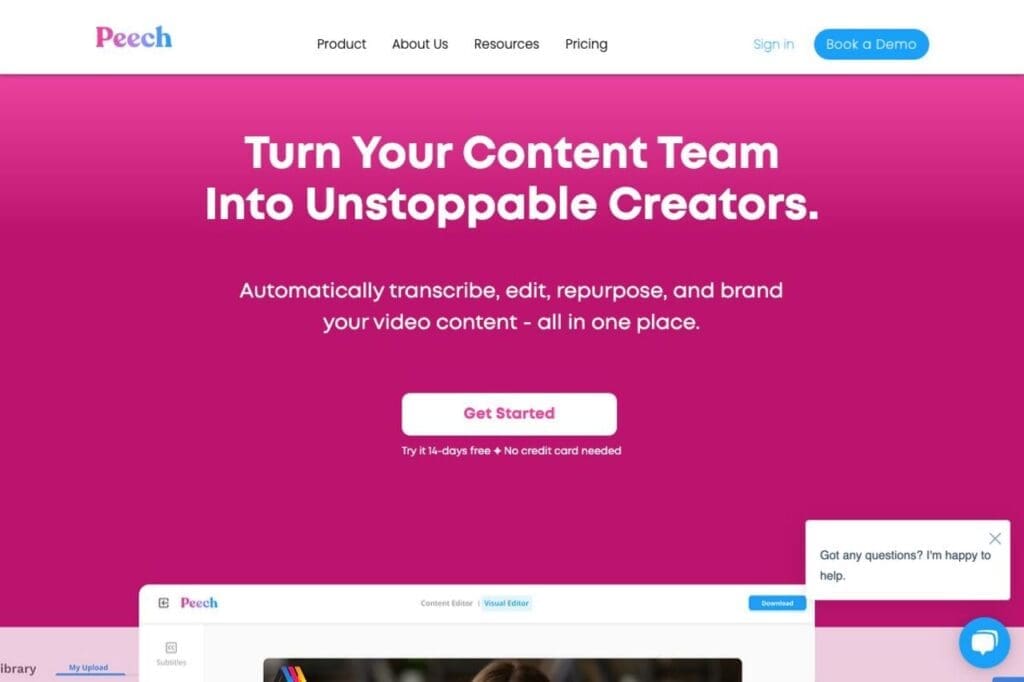
To begin with the base product, Peech Lite, you’re required to upload your brand kit, including your logo and color scheme. Once uploaded, Peech automatically applies your branding to all your videos.
As you add your media, the tool will identify faces and prompt you to input the names and roles of the individuals within your organization. Consequently, whenever these individuals appear in any future video, the AI tool will display a name and role card for them on the video screen, enhancing the professionalism and brand consistency of your content.
How to Use Peech?
Step #1: Begin by visiting the official website of Peech and completing the registration process. Next, select the “Create Project” option.
Step #2: Upon uploading any video content, Peech will automatically analyze the material and segment it into a variety of topic-based videos branded for immediate release.
Step #3: Browse through the extensive selection of branded videos produced to pinpoint the content that aligns most closely with your objectives. You can then review and edit the content as needed to ensure it’s ready for publication.
Step #4: Ensure you scrutinize every detail of your video. The interface allows you to edit content as if it were a document, giving you the flexibility to adjust the position, size, and text of visual components.
Pricing
The free plan accommodates 1 user and includes up to 2 videos per month with a 5-minute upload limit, albeit with a watermark. The Pro plan begins at $59 per month, offering up to 10 videos monthly, a 50-minute upload limit, and removes the watermark.
5.Synthesia
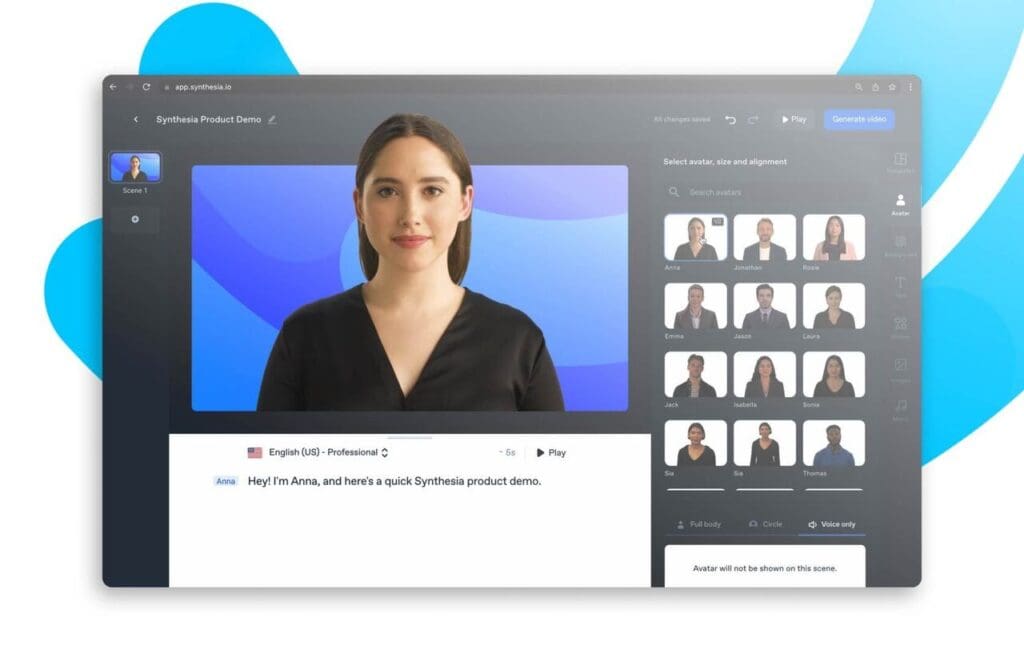
Is there anyone who hasn’t discovered this platform yet? Leveraging artificial intelligence, it allows you to craft videos for your content, presentations, or projects without needing to show your face or use your own voice. Offering support for multiple languages, this platform stands out as one of the most favored tools for AI-driven video creation and editing today.
How to Use Synthesia?
Crafting a compelling video script is crucial for both AI-generated and conventional videos. Therefore, before you start using Synthesia, it’s essential to dedicate some time to planning what you want your video to communicate and display. This preparatory step is crucial because it helps you define your target audience, objectives, the type of video you wish to create, and the visuals you plan to incorporate.
To create a video, select the “new video” option located in the upper right corner. From there, you can commence your creation by choosing from over 55 video templates. Alternatively, you can opt for a pre-designed video template from the “templates” option on the left side.
If your interest lies in AI video editing rather than creation, you can edit your PowerPoint presentation by uploading it via the “import” option.
As previously mentioned, there’s no need to use your own voice or appear on camera for video editing or creation on this platform. This is because the site provides a variety of avatars and voice models for you to choose from, leaving the rest to your creativity.
Pricing
The personal plan is available starting at $30 per month, making it accessible for individual use.
6.Fliki
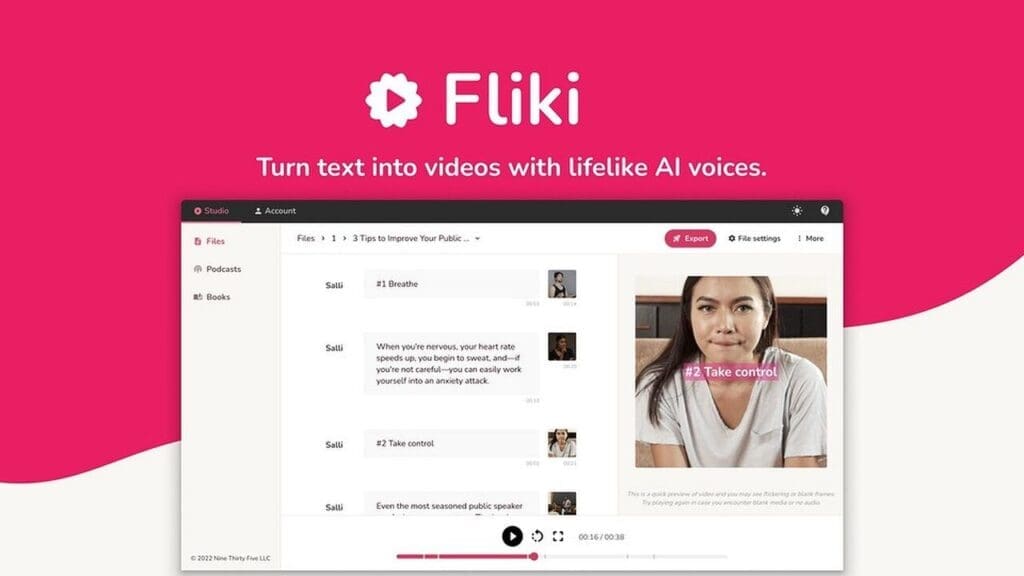
On this AI platform, where you can transform your ideas, blog posts, presentations, and even social media posts into videos, you have access to millions of stock images to enrich your creative content. Supporting over 75 languages, including English, this site has become a go-to resource for numerous corporate brands, such as Google, Sony, and Meta.
How to Use Fliki?
First, navigate to the official website of the platform and create your account. You’ll likely be greeted with a tutorial video on how to create content, but let’s go over the basics: Click on the “new file” option on the right side of the interface.
For instance, if you select the “idea prompt” option, it’s advisable to input your commands in English, as the AI’s proficiency in languages other than English may not be as advanced.
Following this, a “magic create” panel will appear. From here, you have the flexibility to create videos from various inputs such as ideas, blogs, presentations, tweets (or X posts), or products. Additionally, you can explore the “Stock image, artificial intelligence media” options to further customize your content.
Each option you select offers unique customization features. While we can’t cover all these features here, you have the freedom to tailor your content to your liking.
It’s important to note that AI video creation tools have the potential to generate unethical content. As users, we play a critical role in guiding AI’s learning process, with the aim to avoid undesirable outcomes in the future.
Hence, utilizing these tools responsibly, especially in fields like education, presentations, and projects, is essential for the benefit of all.


