

Creating realistic images with artificial intelligence is an increasingly accessible and straightforward process, especially with advancements in AI tools.
Over time, we’ve shared various content using different AI tools, focusing primarily on photo production. We’ve also provided basic guidance on how to use applications like Stable Diffusion, DALL-E 2, and Midjourney, which are popular for creating AI-generated photos. Now, we’re delving into how you can achieve highly realistic images using these AI tools.
While the techniques we discuss can be applied across various AI platforms, we’ll primarily focus on DALL-E 2, known for its user-friendly interface and wide accessibility.
This application enables users to generate images that are strikingly realistic, almost as if they were captured by a camera. Understanding the nuances of these tools can significantly enhance the quality and realism of the images you create, offering new possibilities in digital art and content creation.
How to create photos with artificial intelligence?
To create AI-generated images using DALL-E or similar platforms, here’s a simplified guide:
- Register on the Platform: Start by visiting the website of DALL-E or a comparable AI image generator and sign up for an account.
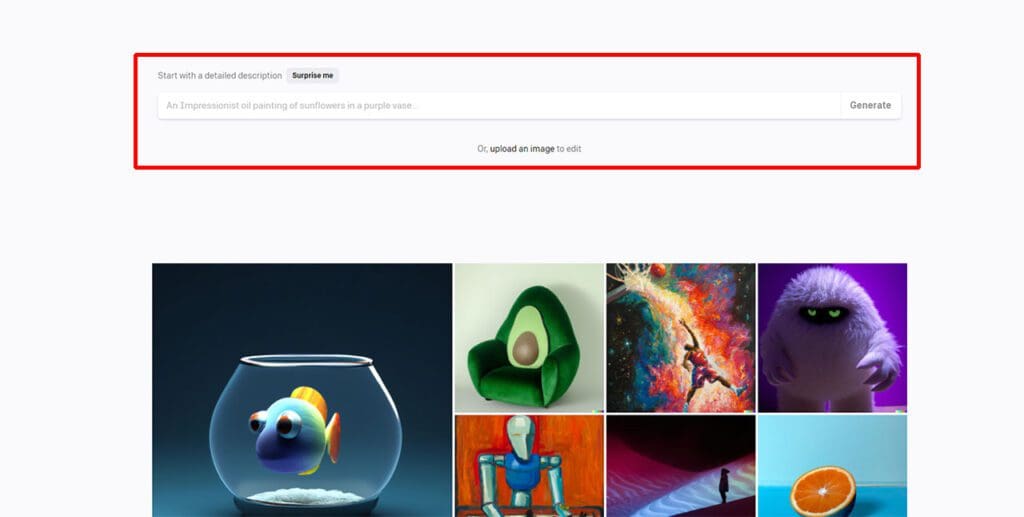
- Describe Your Desired Image: Once logged in, you’ll find a text box where you can articulate the image you want to create. Be as detailed as possible to guide the AI effectively.
- Refine Your Description: Enhance your description by adding specific phrases or details after a comma. This helps in fine-tuning the AI’s understanding of your request.
- Generate the Image: Hit the “Generate” button to initiate the image creation process. The AI will then process your description and start creating the image.
- Download Your Image: After the image is generated, you can usually download it by clicking a download button, often located in the top right corner of the screen.
For those seeking alternatives to DALL-E, there are several other AI image generation tools available, each with unique features and capabilities. These include Stable Diffusion, Midjourney, and various others that continue to emerge in this rapidly evolving field. Each platform may have slight variations in how they operate, but the general process remains similar: describe, generate, and download.
Step #1: DALL-E Site Go and create your membership.


In this way, you will be able to use the service for free.
Step #2: Define the image you want in the text box that comes in front of you.

When creating images using AI tools, it’s crucial to provide descriptions, or “prompts,” in English. This is because most AI platforms currently operate predominantly in English. If you’re not fluent in English, you can use translation services like Google Translate to frame your ideas accurately.
For instance, prompts can be as diverse as “a woman in a red dress,” “a dog waiting in the rain,” or something more imaginative like “an astronaut drinking soda while observing Earth from the Moon.” Let’s take the astronaut prompt as an example.
However, it’s important to remember that the job isn’t done yet. Crafting your prompt in correct English grammar is essential for the AI to understand and generate the image accurately. For those seeking alternatives that support English, Bing’s image creation service is currently one of the few that offers this capability.
Step #3: Add a comma to the definition and add the necessary phrases at the end.


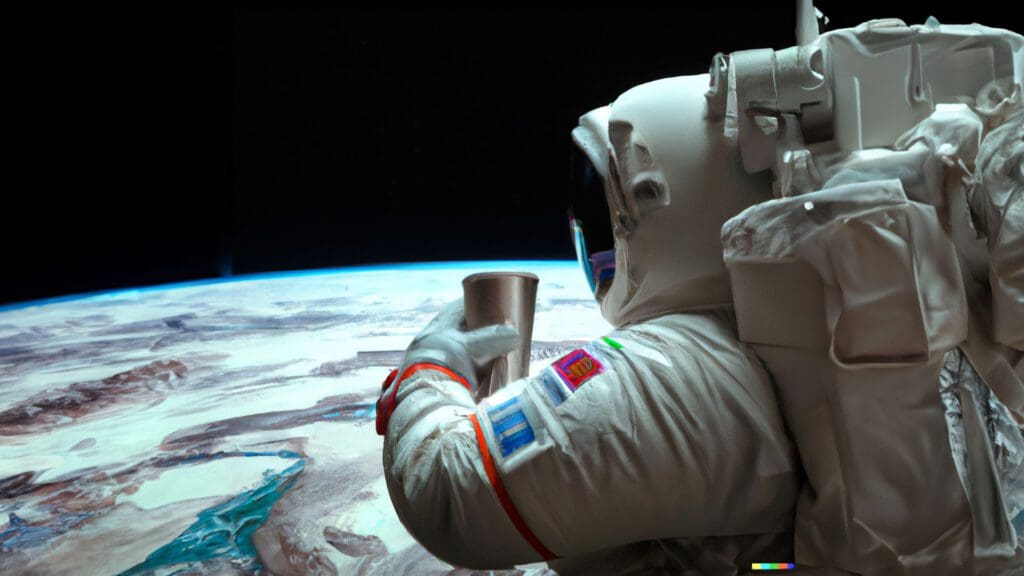
To enhance the realism of the image generated by an AI tool, it’s important to include specific phrases like “realistic,” “detailed photography,” or “cinematic lighting” in your prompt. These phrases can be placed anywhere in the description, not necessarily at the end. They play a crucial role in defining the style and quality of the image.
For instance, our goal to create a realistic photograph necessitates the use of phrases like “realistic” and “detailed photography.” Conversely, if the desired outcome was an image resembling an oil painting, phrases like “oil painting style” would be appropriate. These keywords guide the AI in rendering the image in the style you envision. Remember, precise and clear language, especially following correct English grammar, is key to achieving the best results with AI image generation tools.

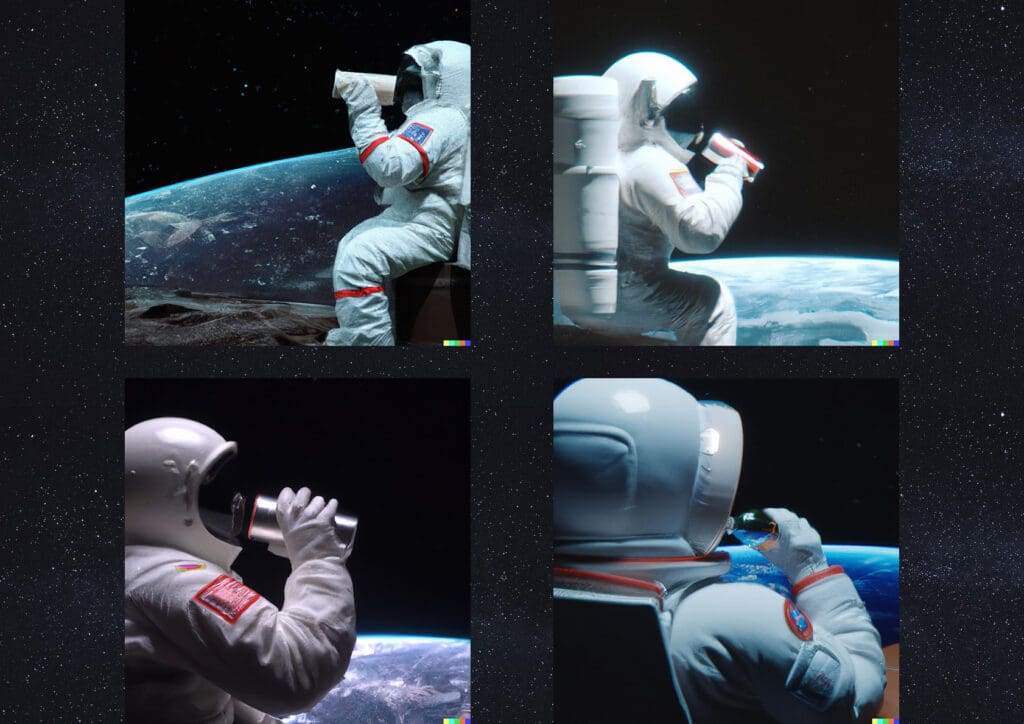
In a short time, the AI-generated images will appear in response to your prompt. While these images might occasionally seem inconsistent due to the AI’s interpretation, the specific terms we’ve included in the prompt, like “realistic” or “detailed,” often result in graphics that have a realistic appearance. This demonstrates the importance of carefully choosing your words when guiding the AI to produce the desired visual outcome.
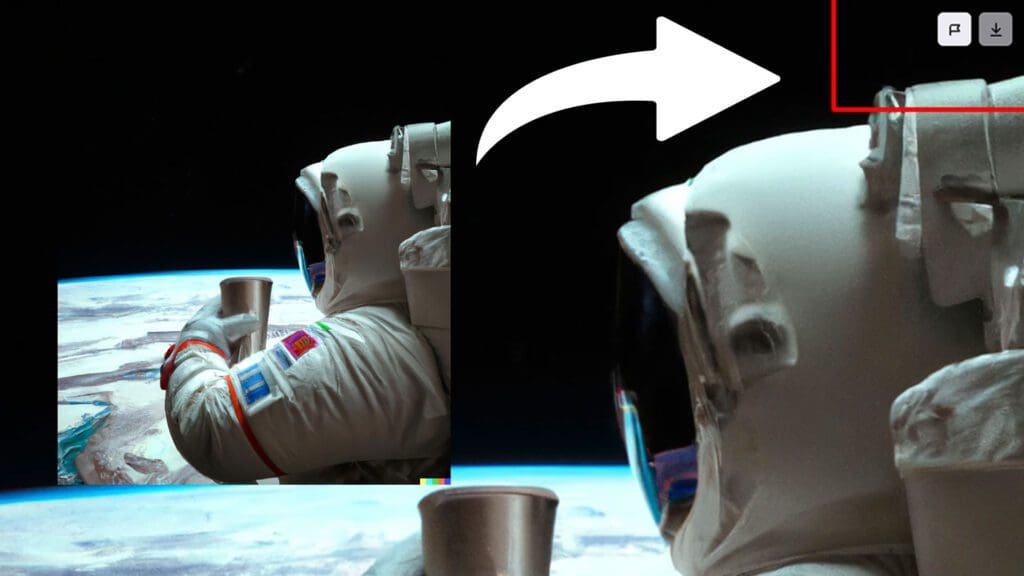
So you can save it directly to your device. Let us remind you that your attempts until you reach the image you want are also saved on the site.
And you can do more.
Enhancing AI-generated images with DALL-E and Adobe Photoshop’s expansive and fill features can significantly improve the detail of your output. Here are some tactics for writing prompts that yield more realistic results:
- Detail-Oriented Prompts: The longer and more detailed your prompt is, the better the AI can interpret and generate your desired output.
- Clarity Over Complexity: While detail is important, avoid making your prompt overly complex or confusing. A clear, detailed prompt is key.
- Emphasize Realism: Make it clear in your prompt that you are seeking a realistic image. This directive helps the AI focus on generating lifelike visuals.
- Experiment with Variations: If you find an image you like, try diversifying it with different descriptions to see how slight changes can enhance the result.
- Incorporate Environment Details: Include specifics about the location and surroundings in your prompt to give context to the AI.
- Add Lighting and Perspective: Enhance your visual further by mentioning different types of lighting, photo angles, and lens effects, such as a fisheye, in your prompt.
These strategies can help you harness the full potential of AI and Photoshop to create highly realistic and detailed images.
Here are the different alternative apps where you can do this:
In our content, we mostly use Stable Diffusion and Midjourney tools because of the freedom they offer. These two vehicles have advantages and weaknesses compared to each other. However, as long as you follow the path we mentioned, it is possible to get realistic visuals in every artificial intelligence tool.
If you have any questions about other tools, you can share your questions in the comments section. We’ll be making a comeback.
You may also like this content
- The End of Chatbots: Why 2026 is the Year of AI Agents (And What It Means for Your Job)
- Would You Choose a Robot Body or a Digital Mind?
- Nano Banana Pro: Free 4K Photo Upscaling Tool
-
-
-

-
-
-

-
-
-
-
-
-
